JWT Authentication in Node.js Explained Simply

Your application has user accounts. Some routes should only be accessible to logged-in users. How do you protect routes and verify that a request actually comes from who they claim to be?
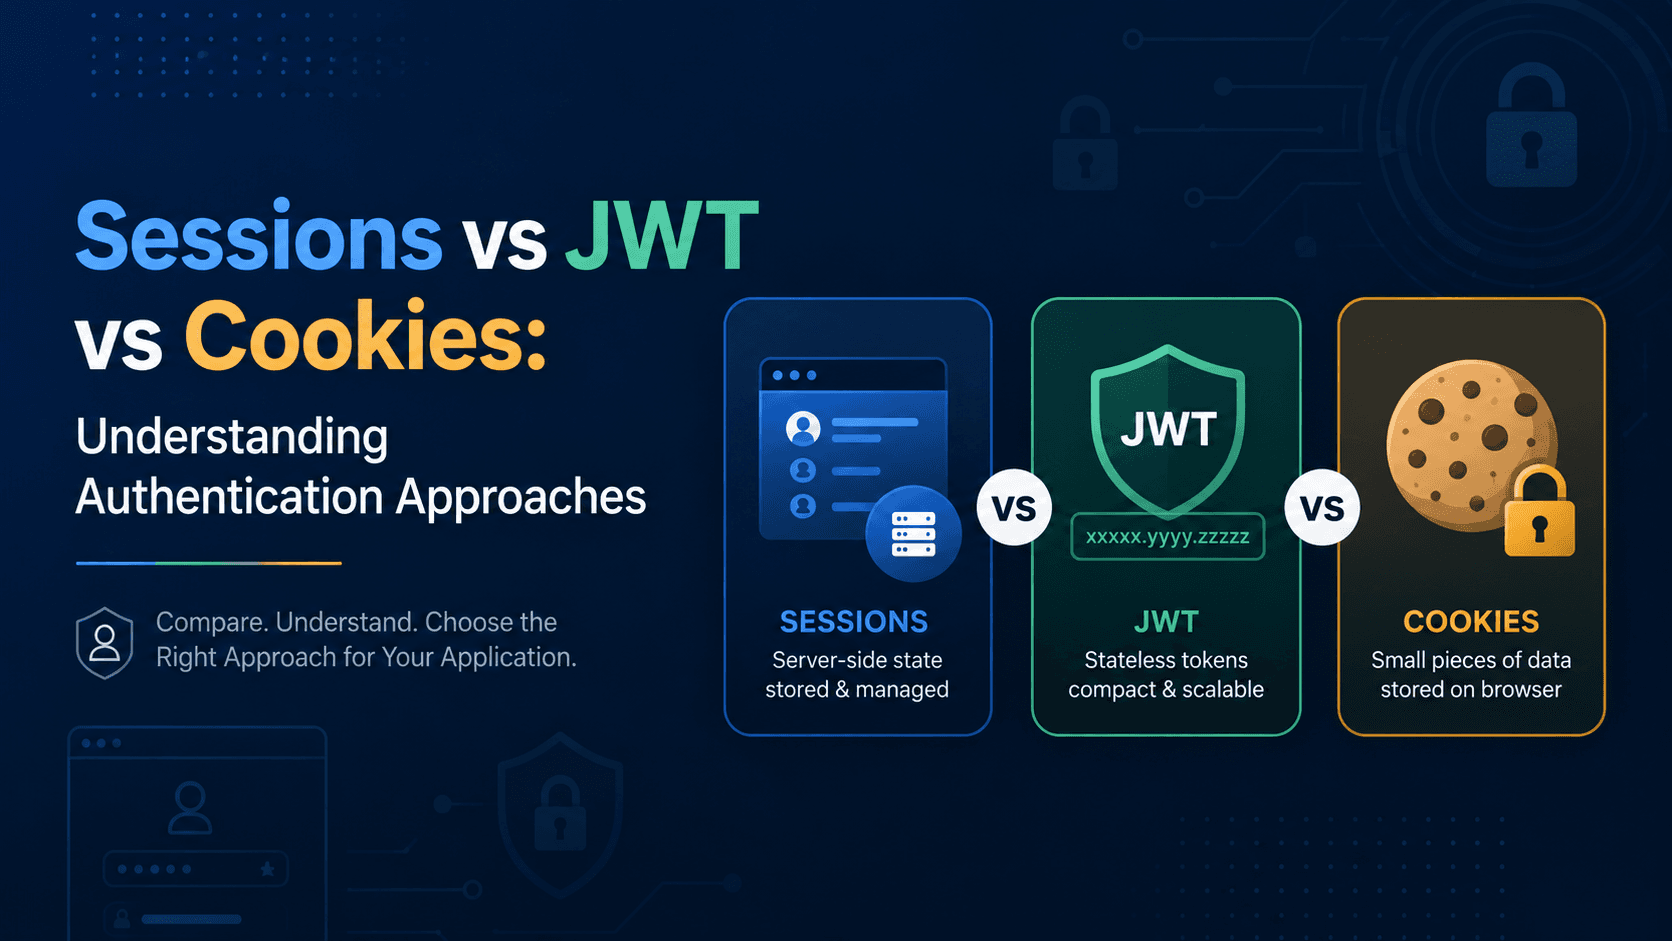
JWT (JSON Web Token) is a popular, stateless way to handle authentication. Once a user logs in, you give them a token. They include this token with every request, and you verify it to confirm they're authenticated.
Why Authentication Exists
Imagine a banking app. You log in, and your account is yours alone. If anyone could access anyone else's account, the app would be useless and insecure.
Authentication answers one question: "Who are you?" Once you've answered that question by logging in, the app trusts that you are who you claim to be.
What Is JWT?
JWT is a self-contained token that includes:
User information (claims)
A signature to verify it hasn't been tampered with
An expiry time so old tokens eventually become invalid
It's like a digital ID card that proves you are who you say you are.
JWT Structure
A JWT has three parts separated by dots:
eyJhbGciOiJIUzI1NiIsInR5cCI6IkpXVCJ9.eyJzdWIiOiIxMjM0NTY3ODkwIiwibmFtZSI6IkpvaG4gRG9lIiwiaWF0IjoxNTE2MjM5MDIyfQ.SflKxwRJSMeKKF2QT4fwpMeJf36POk6yJV_adQssw5c
Part 1: Header
{
  "alg": "HS256",
  "typ": "JWT"
}
This tells you the algorithm used to sign the token and that it's a JWT.
Part 2: Payload (Claims)
{
  "userId": 123,
  "username": "john",
  "email": "john@example.com",
  "iat": 1516239022,
  "exp": 1516325422
}
This is the data about the user. iat is when it was issued, exp is when it expires.
Part 3: Signature
SflKxwRJSMeKKF2QT4fwpMeJf36POk6yJV_adQssw5c
This is created by signing the header and payload with a secret key. It prevents tampering.
Login Flow with JWT
Here's how JWT authentication works:
User logs in → Sends username and password
Server validates → Checks credentials in database
Server creates token → Encodes user info into JWT
Server returns token → Sends JWT to client
Client stores token → Saves it in localStorage or a cookie
Client sends token → Includes it with every request
Server verifies token → Checks signature and expiry
Server grants access → If valid, allows the request
Setting Up JWT in Express
First, install the jsonwebtoken package:
npm install jsonwebtoken
Here's a basic example:
import express from 'express';
import jwt from 'jsonwebtoken';

const app = express();
app.use(express.json());

const SECRET_KEY = 'your-secret-key-keep-it-safe';

// Login route
app.post('/login', (req, res) => {
  // In real apps, validate username/password against database
  const user = {
    userId: 123,
    username: 'john',
    email: 'john@example.com'
  };

  // Create JWT token
  const token = jwt.sign(user, SECRET_KEY, { expiresIn: '1h' });

  res.json({ message: 'Login successful', token });
});

app.listen(3000, () => {
  console.log('Server running');
});
When someone posts to /login, they receive a JWT token.
Verifying Tokens
Now protect routes by checking if the token is valid:
import express from 'express';
import jwt from 'jsonwebtoken';

const app = express();
app.use(express.json());

const SECRET_KEY = 'your-secret-key-keep-it-safe';

// Middleware to verify token
function verifyToken(req, res, next) {
  const token = req.headers.authorization?.split(' ')[1];

  if (!token) {
    return res.status(401).json({ error: 'No token provided' });
  }

  try {
    const decoded = jwt.verify(token, SECRET_KEY);
    req.user = decoded;
    next();
  } catch (error) {
    res.status(401).json({ error: 'Invalid token' });
  }
}

app.post('/login', (req, res) => {
  const user = { userId: 123, username: 'john' };
  const token = jwt.sign(user, SECRET_KEY, { expiresIn: '1h' });
  res.json({ token });
});

// Protected route
app.get('/profile', verifyToken, (req, res) => {
  res.json({ message: `Welcome ${req.user.username}` });
});

app.listen(3000);
The verifyToken middleware checks the token before allowing access to /profile.
How to Send a Token
After login, clients include the token in the Authorization header:
// Client-side (in browser or mobile app)
const token = 'eyJhbGc...'; // Token received from login

fetch('http://localhost:3000/profile', {
  headers: {
    'Authorization': `Bearer ${token}`
  }
})
.then(res => res.json())
.then(data => console.log(data));
The format is: Authorization: Bearer [token]
The server extracts the token after the word "Bearer".
Complete Authentication Example
Here's a complete login and protected route system:
import express from 'express';
import jwt from 'jsonwebtoken';

const app = express();
app.use(express.json());

const SECRET_KEY = 'super-secret-key';

// Sample user database
const users = [
  { id: 1, username: 'john', password: 'password123' },
  { id: 2, username: 'jane', password: 'password456' }
];

// Middleware to verify token
function verifyToken(req, res, next) {
  const token = req.headers.authorization?.split(' ')[1];

  if (!token) {
    return res.status(401).json({ error: 'No token provided' });
  }

  try {
    const decoded = jwt.verify(token, SECRET_KEY);
    req.user = decoded;
    next();
  } catch (error) {
    res.status(401).json({ error: 'Invalid or expired token' });
  }
}

// Login route
app.post('/login', (req, res) => {
  const { username, password } = req.body;

  // Find user (in real apps, check against hashed passwords)
  const user = users.find(u => u.username === username && u.password === password);

  if (!user) {
    return res.status(401).json({ error: 'Invalid credentials' });
  }

  // Create token
  const token = jwt.sign(
    { userId: user.id, username: user.username },
    SECRET_KEY,
    { expiresIn: '24h' }
  );

  res.json({ message: 'Login successful', token });
});

// Protected route
app.get('/profile', verifyToken, (req, res) => {
  res.json({
    message: `Hello ${req.user.username}`,
    userId: req.user.userId
  });
});

// Another protected route
app.get('/dashboard', verifyToken, (req, res) => {
  res.json({ message: 'Dashboard for ' + req.user.username });
});

app.listen(3000, () => {
  console.log('Auth server running');
});
Token Expiry
Tokens expire to limit damage if a token is stolen. Create tokens with an expiry:
const token = jwt.sign(user, SECRET_KEY, { expiresIn: '1h' });
After 1 hour, the token is invalid, and the user must log in again.
When someone uses an expired token, jwt.verify throws an error, and they get a 401 response.
Refresh Tokens
For better user experience, use refresh tokens. These are long-lived tokens that generate new short-lived access tokens:
app.post('/login', (req, res) => {
  const user = { userId: 123, username: 'john' };

  // Short-lived access token
  const accessToken = jwt.sign(user, SECRET_KEY, { expiresIn: '15m' });

  // Long-lived refresh token
  const refreshToken = jwt.sign(user, REFRESH_SECRET, { expiresIn: '7d' });

  res.json({ accessToken, refreshToken });
});

app.post('/refresh', (req, res) => {
  const { refreshToken } = req.body;

  try {
    const decoded = jwt.verify(refreshToken, REFRESH_SECRET);
    const newAccessToken = jwt.sign(
      { userId: decoded.userId, username: decoded.username },
      SECRET_KEY,
      { expiresIn: '15m' }
    );
    res.json({ accessToken: newAccessToken });
  } catch (error) {
    res.status(401).json({ error: 'Invalid refresh token' });
  }
});
Users use the short-lived access token for requests. When it expires, they use the refresh token to get a new access token without logging in again.
Important Security Practices
Keep your secret safe: Never commit it to Git. Use environment variables:
const SECRET_KEY = process.env.JWT_SECRET;
Use HTTPS only: Always transmit tokens over HTTPS to prevent interception.
Don't store sensitive data in tokens: JWT tokens are encoded, not encrypted. Anyone can decode them and read the payload. Don't include passwords or payment info.
Set reasonable expiry times: Shorter expiry means less damage if a token is stolen. Balance with user convenience.
Hash passwords: Never store plain passwords in your database. Always hash them.
Common Mistakes
Mistake 1: Storing passwords in JWT
// Wrong
const token = jwt.sign({
  username: user.username,
  password: user.password
}, SECRET_KEY);

// Right
const token = jwt.sign({
  userId: user.id,
  username: user.username
}, SECRET_KEY);
Mistake 2: Using a weak secret
// Wrong - too simple
const SECRET_KEY = 'secret';

// Better - long random string
const SECRET_KEY = process.env.JWT_SECRET;
Mistake 3: Not checking token expiry
jwt.verify handles expiry checking automatically. Don't skip it.
Key Takeaways
JWT is a self-contained token with user information and a signature
Users get a token after login and include it with every request
Tokens expire to limit damage if stolen
Verify tokens with
jwt.verifybefore allowing accessUse middleware to check tokens on protected routes
Keep your secret key safe and use environment variables
Tokens are encoded, not encrypted, so don't store sensitive data
Use refresh tokens for better user experience with short-lived access tokens
JWT is a powerful, flexible way to handle authentication in Node.js applications. Once you understand the basics, you can build secure APIs.