Setting Up Your First Node.js Application Step-by-Step
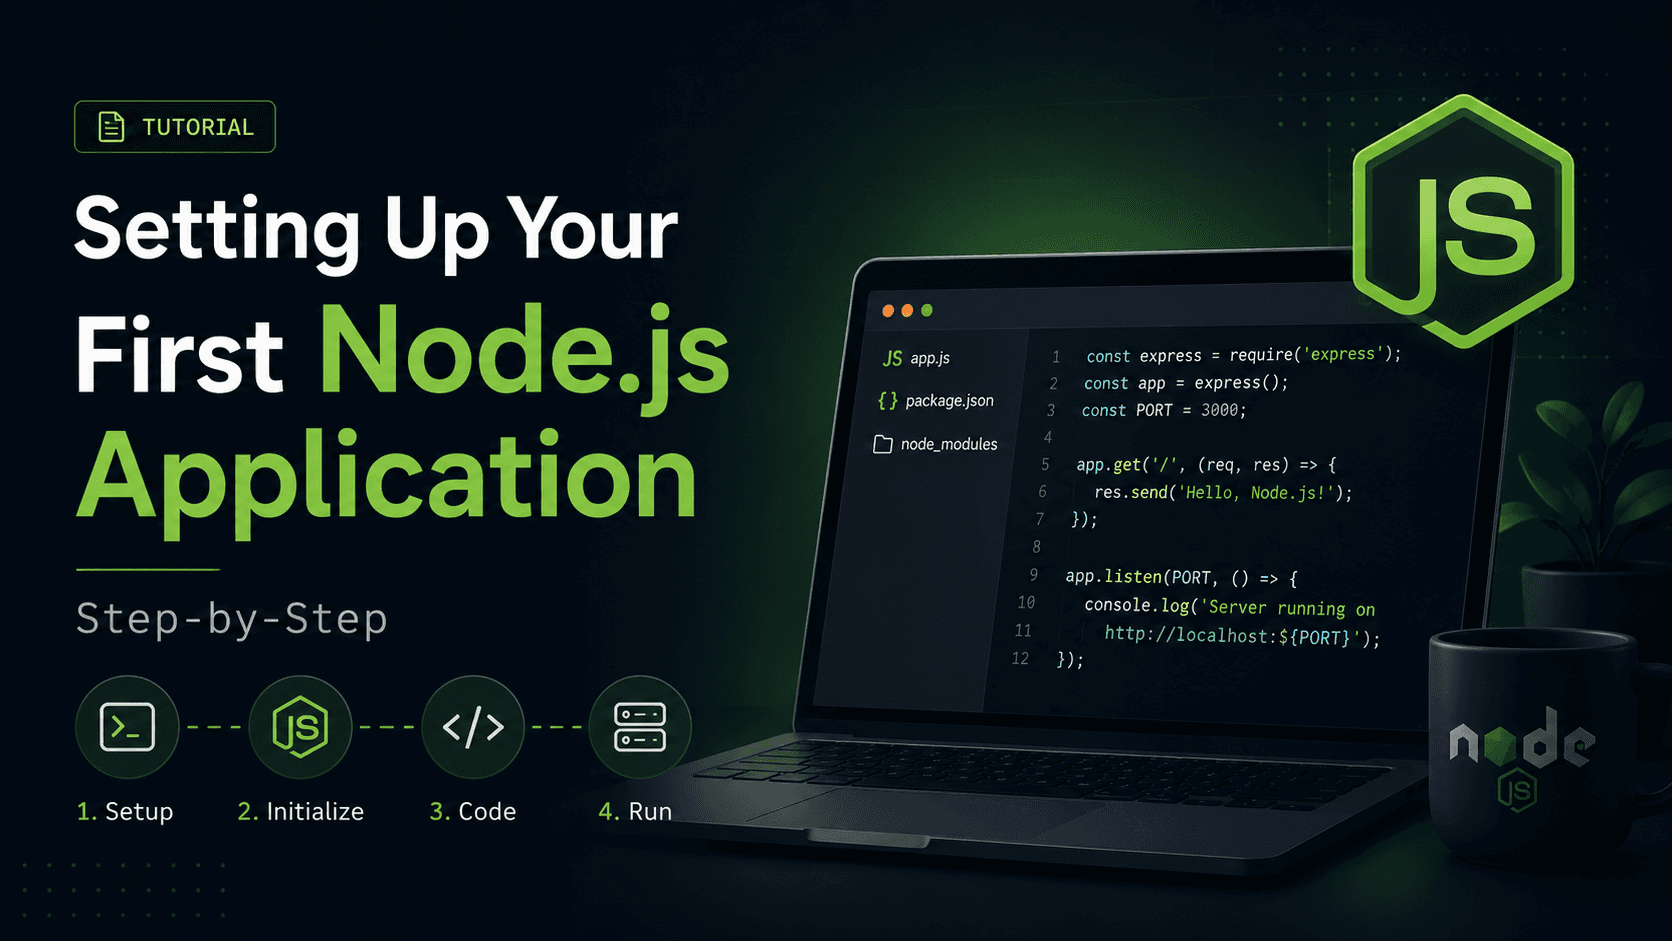
You want to start with Node.js but don't know where to begin. This guide walks you through installing Node.js, verifying it works, and running your first code. By the end, you'll have a working Node.js application.
Step 1: Install Node.js
Visit nodejs.org and download the LTS (Long Term Support) version. This is the stable, recommended version for most users.
The installer includes both Node.js and npm (Node Package Manager), which you'll need for managing code libraries.
Run the installer and follow the default options. Once complete, open a terminal and verify the installation:
node --version
npm --version
You should see version numbers:
v18.16.0
9.6.7
If you see version numbers, you're good. If you get "command not found," try restarting your terminal or computer.
Step 2: Create a Project Folder
Open your terminal and create a folder for your project:
mkdir my-first-app
cd my-first-app
Navigate into this folder. Everything you create will live here.
Step 3: Initialize npm
Initialize npm to create a package.json file:
npm init -y
The -y flag skips questions and creates a default package.json. This file tracks your project's metadata and dependencies.
You'll see a new package.json file in your folder.
Step 4: Create Your First Script
Create a file called hello.js:
touch hello.js
Open it in your editor and write:
console.log('Hello, Node.js!');
This is the simplest possible Node.js program. It just prints a message.
Step 5: Run Your Script
In your terminal, run:
node hello.js
You should see:
Hello, Node.js!
Congratulations! You've run your first Node.js script.
Step 6: Understand the Node REPL
The REPL (Read-Eval-Print Loop) is an interactive JavaScript environment. It's useful for experimenting.
Type node in your terminal with no filename:
node
You'll see a > prompt:
>
Now you can type JavaScript and execute it immediately:
> console.log('Testing')
Testing
undefined
> 2 + 2
4
> const greeting = 'Hello'
undefined
> greeting
'Hello'
To exit the REPL, press Ctrl+C twice or type .exit and press Enter.
The REPL is great for testing small pieces of code before adding them to your scripts.
Step 7: Work with Files
Node.js comes with the fs module for reading and writing files. Let's create a data file and read it.
Create a file called data.txt:
echo "This is some data" > data.txt
Now create a script called read-file.js:
import fs from 'fs';

fs.readFile('data.txt', 'utf8', (err, data) => {
  if (err) {
    console.log('Error reading file:', err);
  } else {
    console.log('File contents:', data);
  }
});
Run it:
node read-file.js
Output:
File contents: This is some data
You're reading a file asynchronously. Node.js reads the file without blocking, and calls the callback when done.
Step 8: Create a Simple Web Server
Now let's create a basic HTTP server:
Create a file called server.js:
import http from 'http';

const hostname = 'localhost';
const port = 3000;

const server = http.createServer((req, res) => {
  res.statusCode = 200;
  res.setHeader('Content-Type', 'text/plain');
  res.end('Hello from Node.js server!');
});

server.listen(port, hostname, () => {
  console.log(`Server running at http://\({hostname}:\){port}/`);
});
Run it:
node server.js
You'll see:
Server running at http://localhost:3000/
Open your browser and visit http://localhost:3000/. You'll see your message!
To stop the server, press Ctrl+C in the terminal.
Project Structure Overview
Your project folder now looks like:
my-first-app/
  package.json
  hello.js
  data.txt
  read-file.js
  server.js
Each file is a standalone script you can run with node filename.js.
Understanding package.json
Your package.json looks something like:
{
  "name": "my-first-app",
  "version": "1.0.0",
  "type": "module",
  "description": "",
  "main": "index.js",
  "scripts": {
    "test": "echo \"Error: no test specified\" && exit 1"
  },
  "keywords": [],
  "author": "",
  "license": "ISC"
}
Key fields:
- name: Your project's name
- version: Version number
- type: Set to "module" for ES imports
- main: Entry point file
- scripts: Commands you can run with
npm run - dependencies: Packages your project needs (currently empty)
Installing Packages
Node.js has an enormous ecosystem of packages. Install them with npm.
For example, install Express (a popular web framework):
npm install express
This downloads Express and saves it in a node_modules/ folder. It also updates package.json:
{
  "dependencies": {
    "express": "^4.18.2"
  }
}
Now you can use Express in your code:
import express from 'express';

const app = express();
app.get('/', (req, res) => {
  res.send('Hello with Express!');
});
app.listen(3000);
Common npm Commands
# Install a package
npm install package-name

# Install packages listed in package.json
npm install

# Run a script from package.json
npm run script-name

# List installed packages
npm list

# Update packages
npm update
Tips for Success
Use meaningful file names: server.js, utils.js, models.js tell you what each file does.
Keep it organized: As projects grow, organize files into folders like src/, models/, routes/.
Comment your code: Explain why you're doing things, not just what you're doing.
Use the REPL for learning: Test small snippets before adding them to files.
Check documentation: When stuck, Google it or check the official Node.js docs at nodejs.org.
What's Next?
You've learned:
- How to install and run Node.js
- How to create and run scripts
- How to use the REPL
- How to read files
- How to create a basic HTTP server
- How to manage packages with npm
From here, you can explore:
- Express.js for building web applications
- Connecting to databases
- Building REST APIs
- Understanding async code deeper
Key Takeaways
- Install Node.js from nodejs.org
- Create scripts in
.jsfiles - Run scripts with
node filename.js - Use the REPL for experimentation
package.jsonmanages your project and dependencies- npm installs and manages packages
- Node.js has built-in modules like
fsandhttp
You now have a solid foundation. Practice creating small scripts, experimenting in the REPL, and building simple servers. The more you practice, the more comfortable Node.js becomes.